Contents
Creating and colouring a surface
Covering a limited set of atoms
Notes
 |
CCP4 Molecular Graphics Tutorials | |
| Molecular surfaces |
| Documentation Contents | On-line Documentation | Tutorials | CCP4mg Home |
Load a small protein such as 1df7 (small so calculations are quick). To create a surface:
 ) and from the menu
select Add display object and Surface to create a surface display object.
) and from the menu
select Add display object and Surface to create a surface display object.
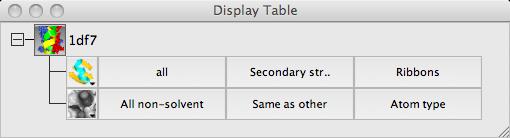
The three columns in the Surface row of the display table are the
selection of atoms covered by the surface, the selection of context
atoms (explained below) and the colour scheme. Calculating a surface may take a little time so when you create a surface
display object it is not drawn immediately - you have the chance to select
the atoms to be covered by the surface and then you should click on the
surface display object icon  and select show (or use the short cut of clicking it
with the right mouse button).
and select show (or use the short cut of clicking it
with the right mouse button).
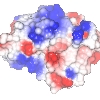
Most of the items on the surface Colour Scheme menu are the same as those on the model colour scheme menu - the surface will just be coloured the same as the underlying atom. The extra option at the top of the menu are to colour by electrostatic potential (try it).
For example to create a transparent surface over just the binding site for the MTX ligand
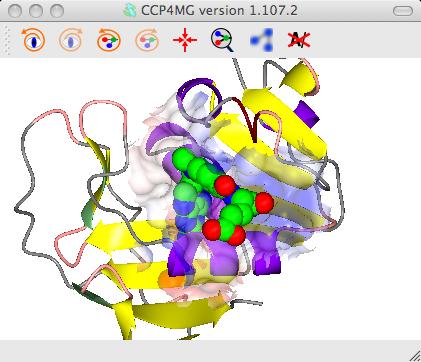
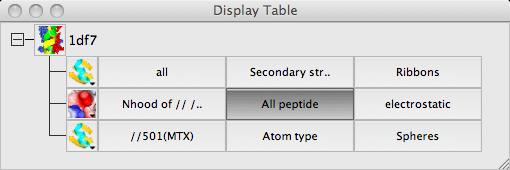
First select the atoms to be covered by the surface: from the surface Atom Selection menu select Selection bowser.. and at the top of the new selection browser window choose neighbours selection mode. and in the atom selection line of the window select the monomer //501(MTX). Note that the selection radius is set quite high to 7A and that, by default, solvent and the named central atoms (that is the MTX ligand) are excluded from the selection. Hit the Select neighbours button. If you draw the surface now it will completely wrap around all of the selected atoms as if they were a single separate molecule. To prevent this go to the menu in the second column to select the context for the surface and select All peptide.
Now click
on the surface display icon and check Visible.
Click on the surface display object icon and select
Surface drawing style. Try the various options.
The opacity of the transparent surface can be changed by selecting
Set transparency from the menu, settting the opacity
for the surface object to say 0.4.
To get the image in the picture you need to add a display object to
show the ligand MTX so the display table is ..
The calculation parameters and colour scheme for electrostatic potential can be set
in Surfaces folder of the Preferences window (find this
at the bottom of the Edit menu or the QtMG menu on Macs).